Saturday, December 8, 2012

Put a heart into it 2.0


This is just a improvised version of the earlier design. And a little more jazzier for those who just can't get enough!

Put a heart into it

This design is easy to do and doesn't require more than 10 mins! All i did was apply the nailcolor and while it was still wet, i pressed the heart sequin in the middle of the nail. The sequin sets in easily and after the nailpaint had dried. I put a clear top coat and ta-da! it was done!


Saturday, October 27, 2012

Metallic Glam

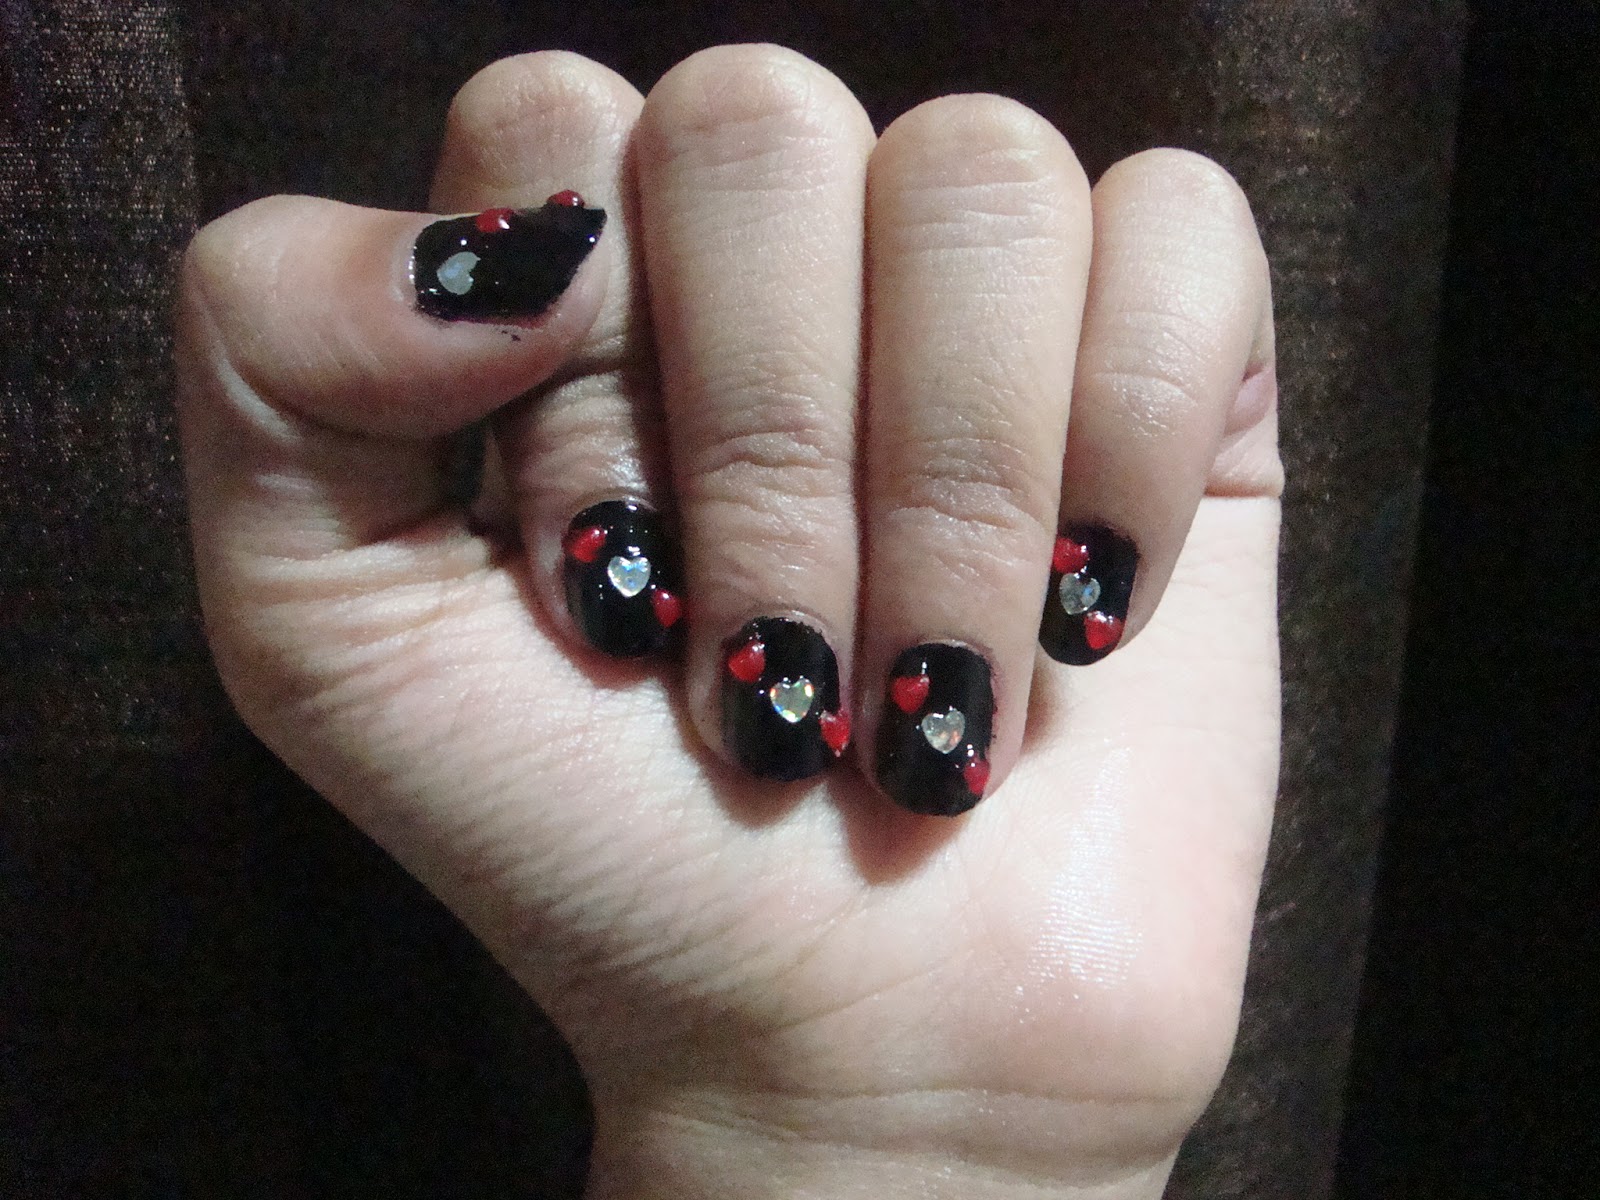
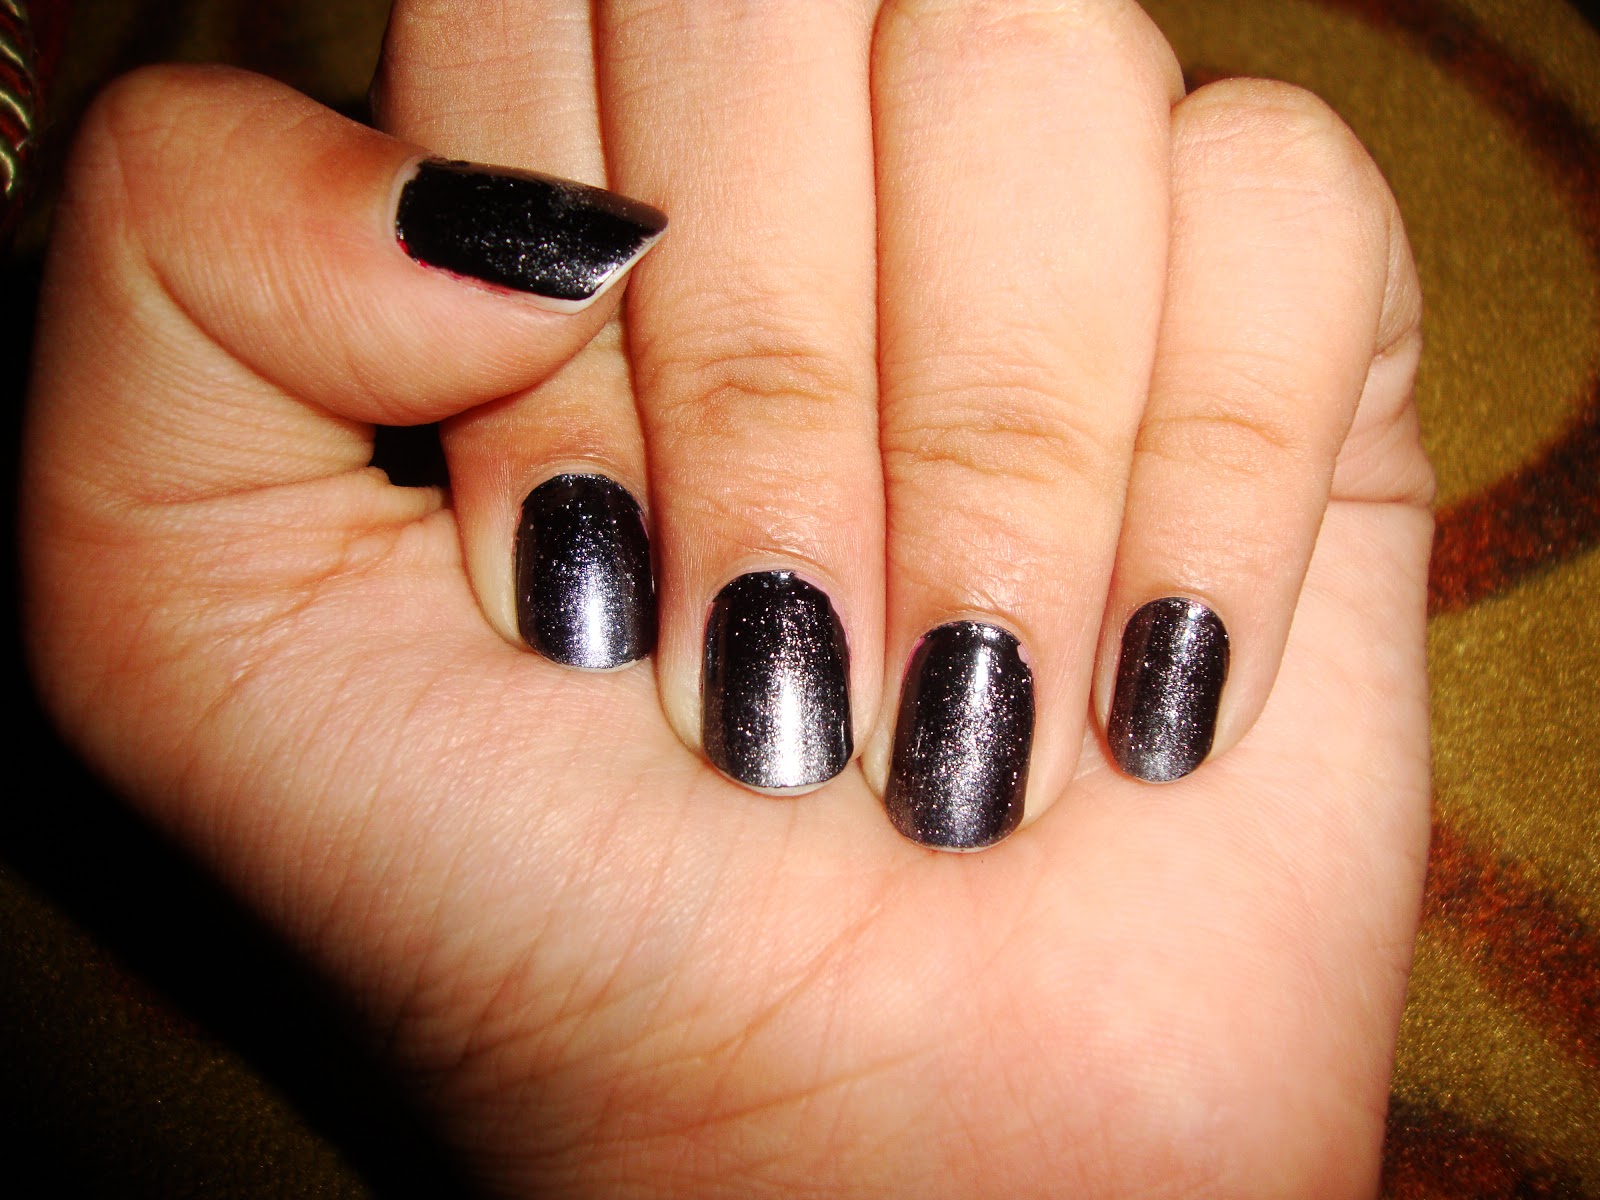
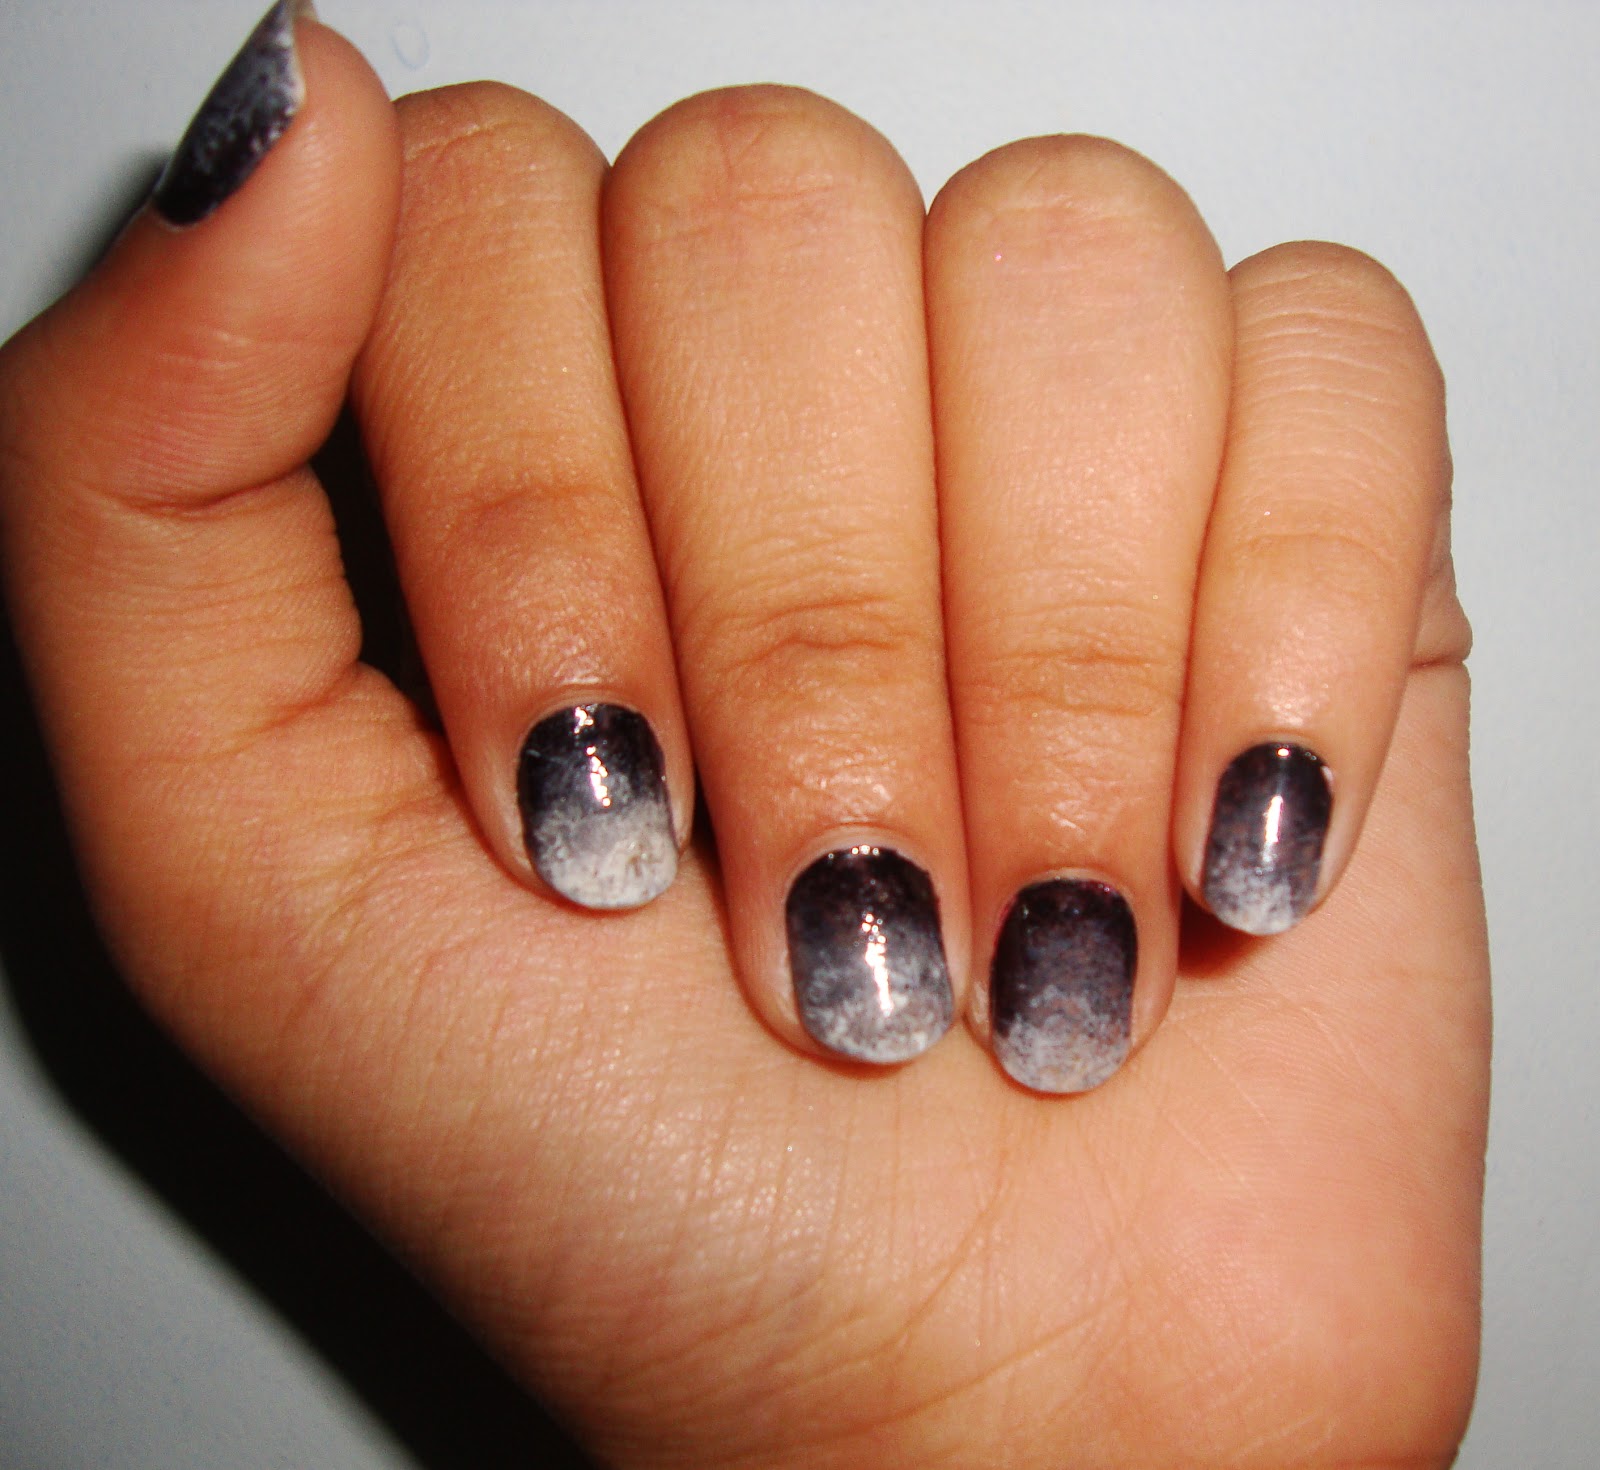
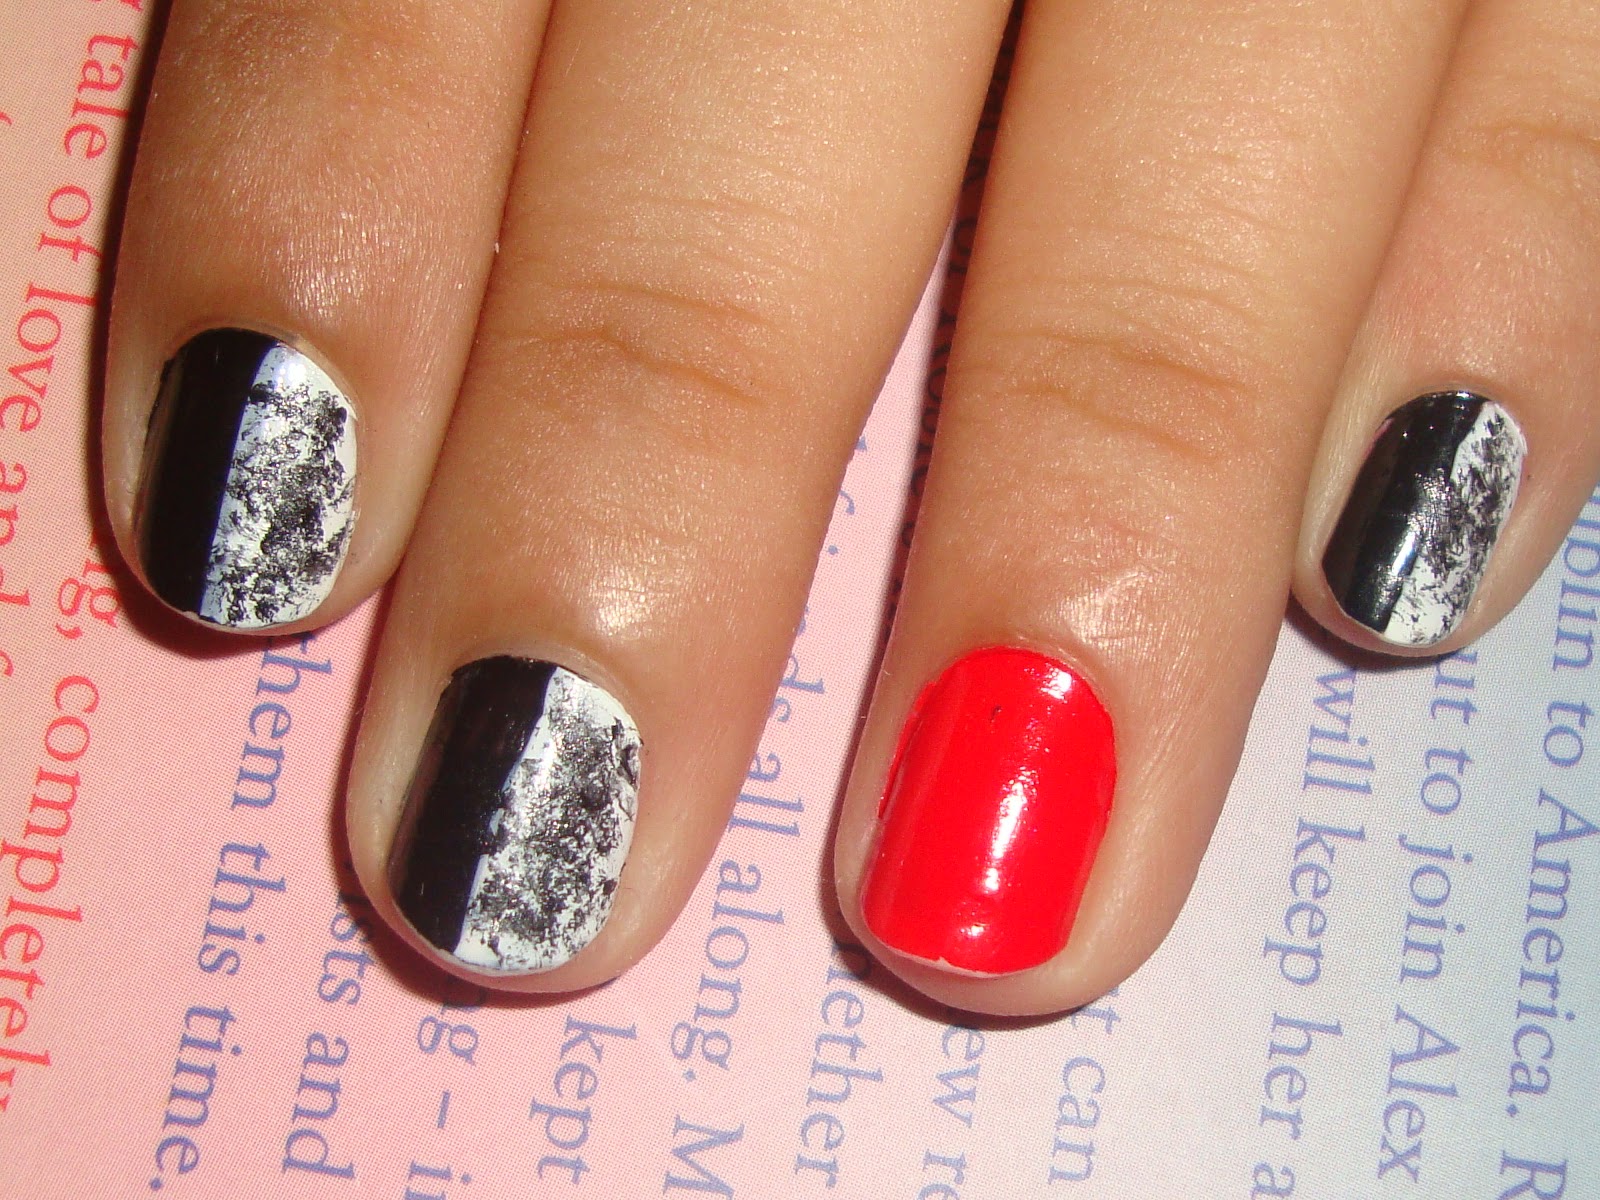
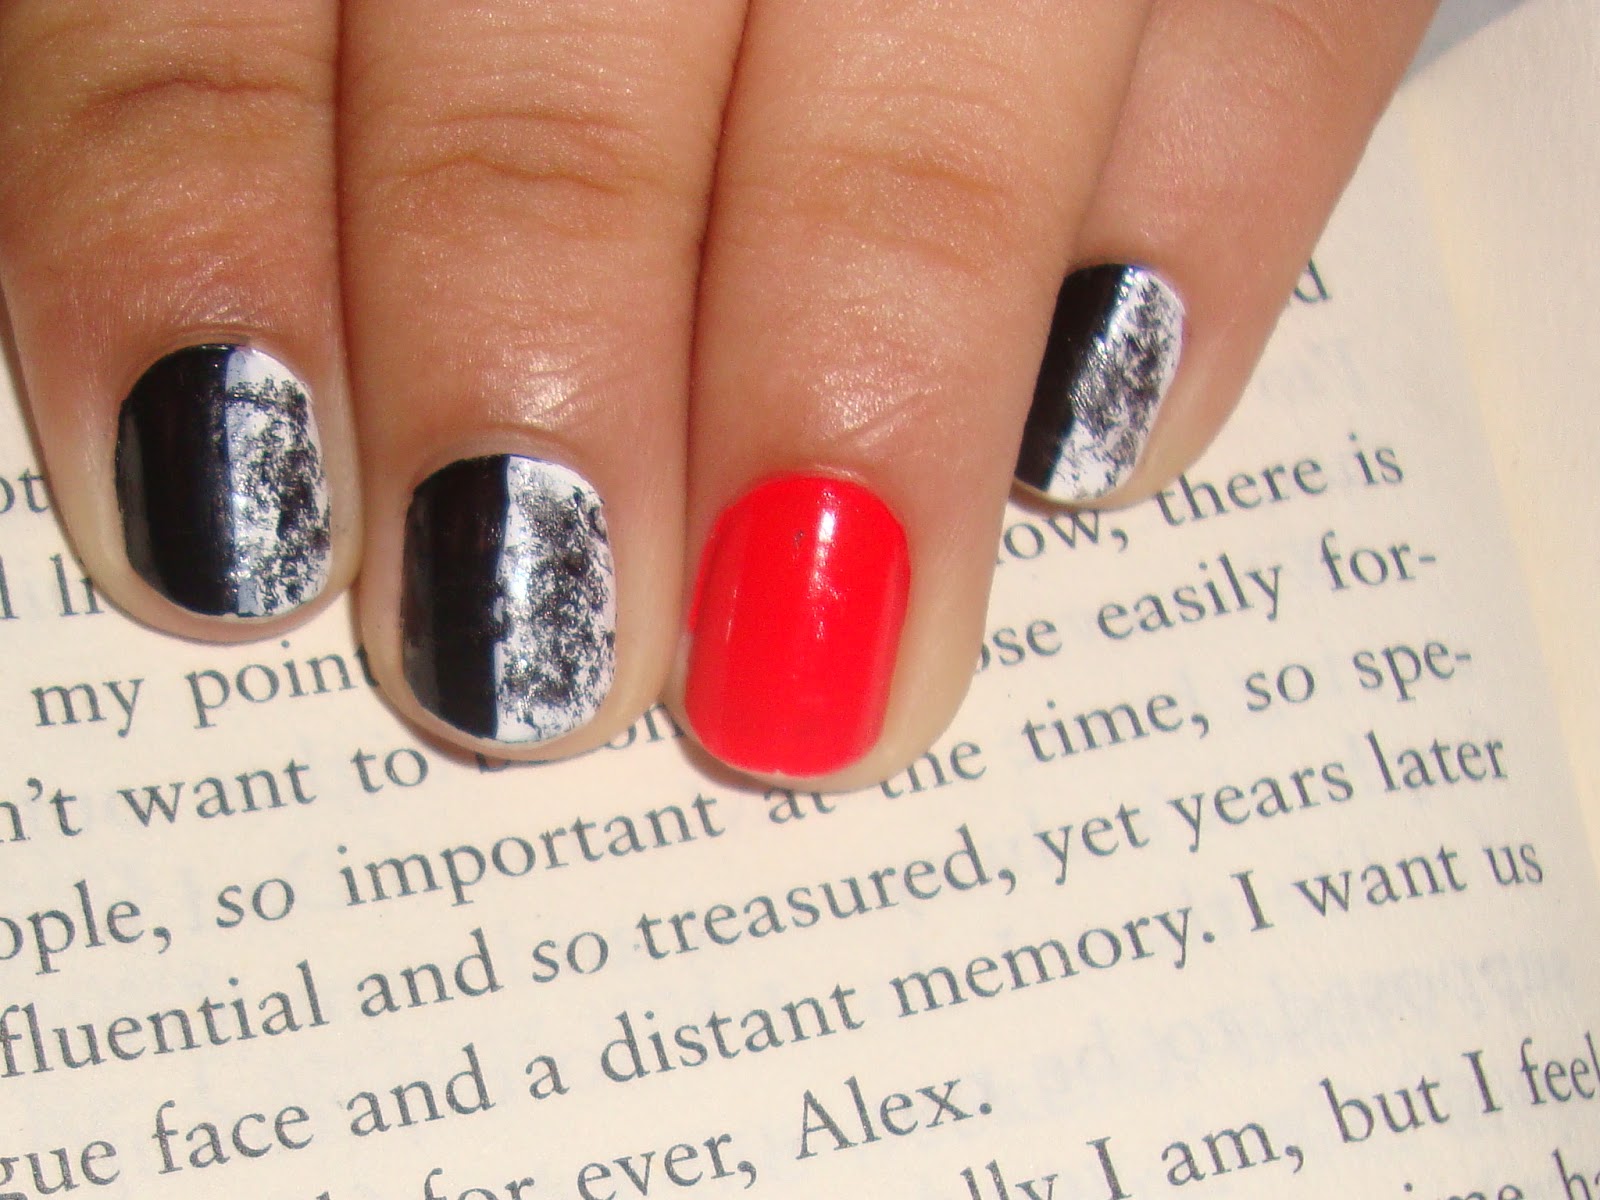
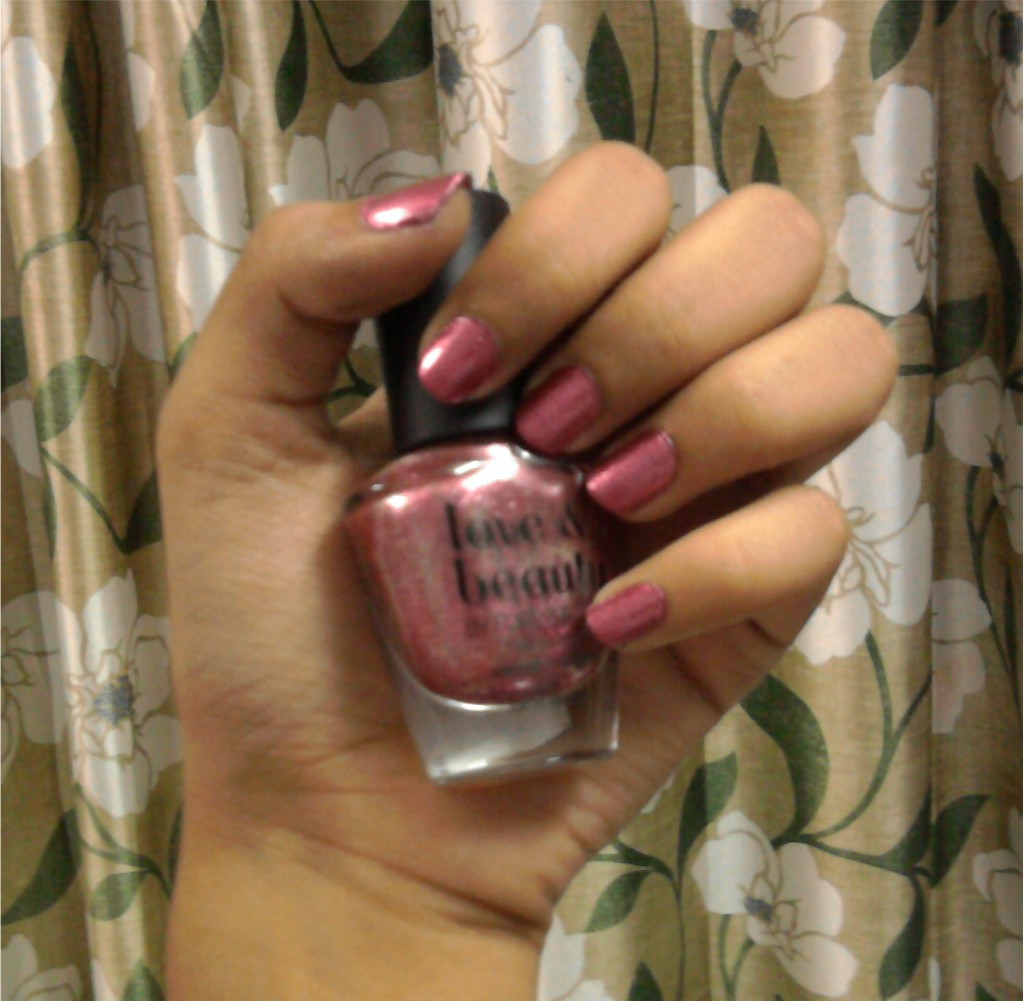
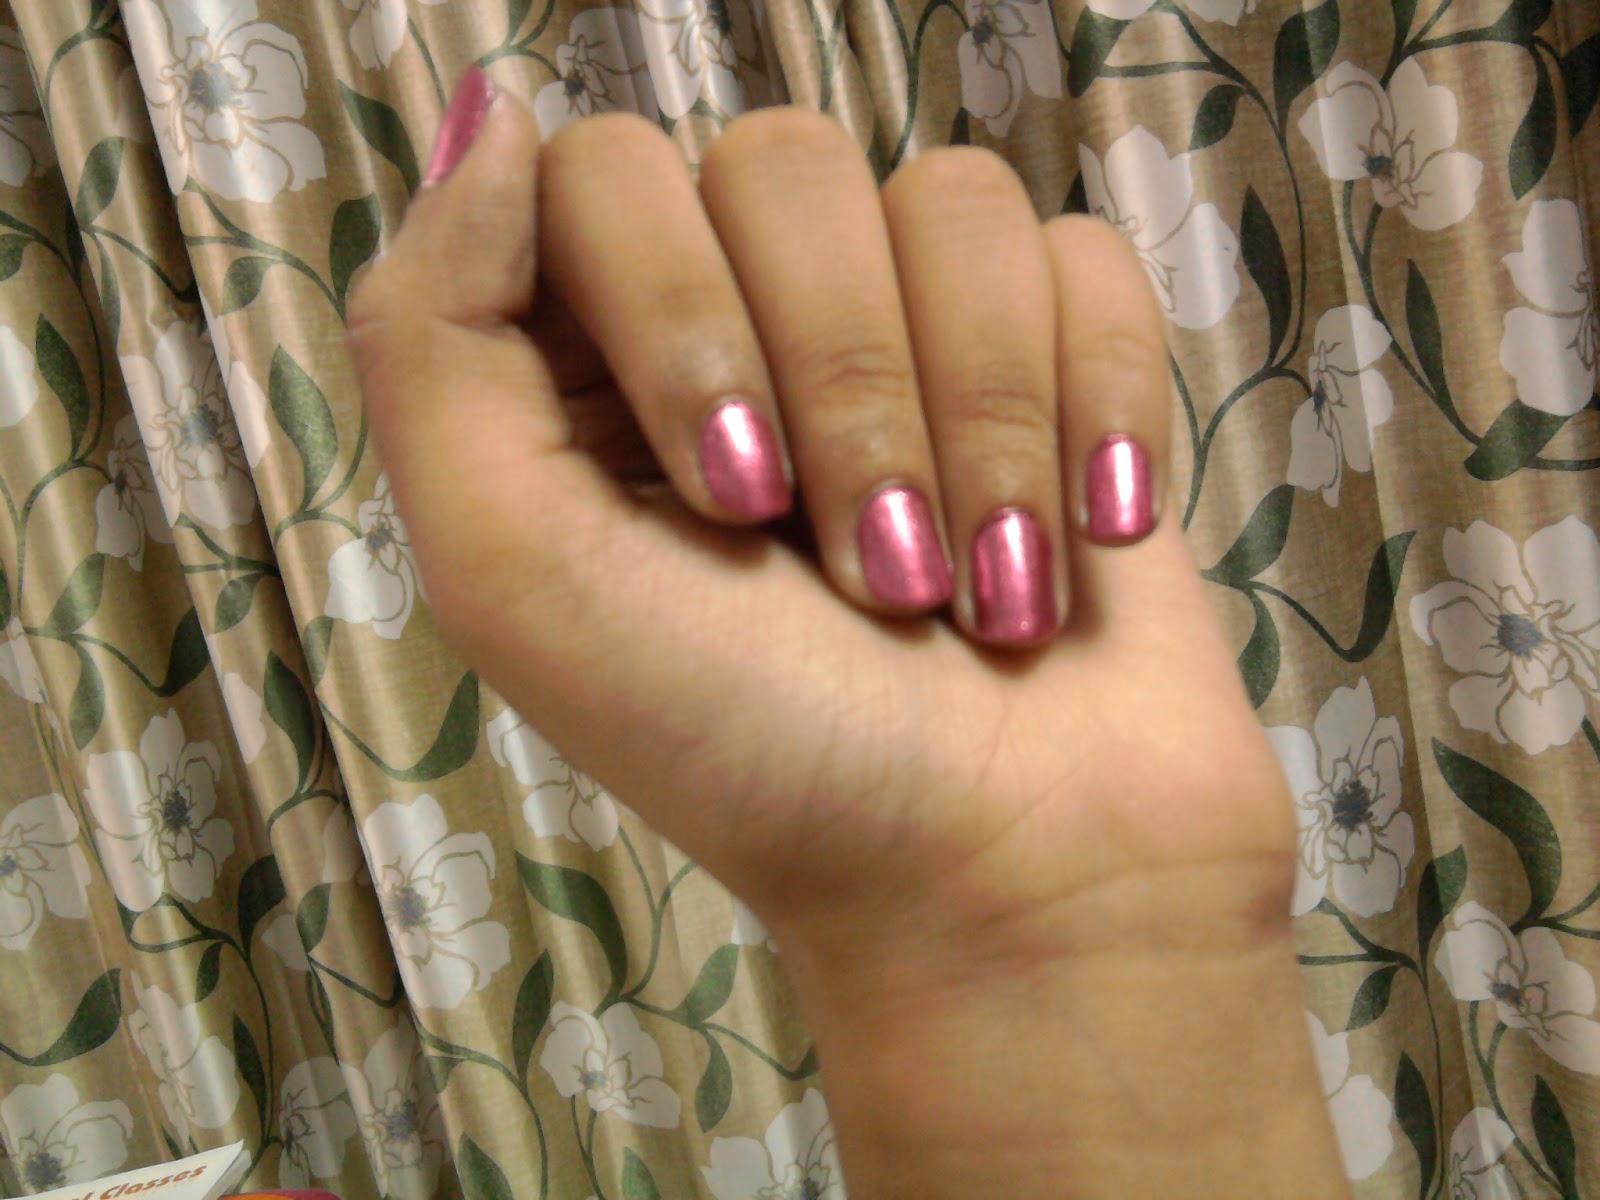
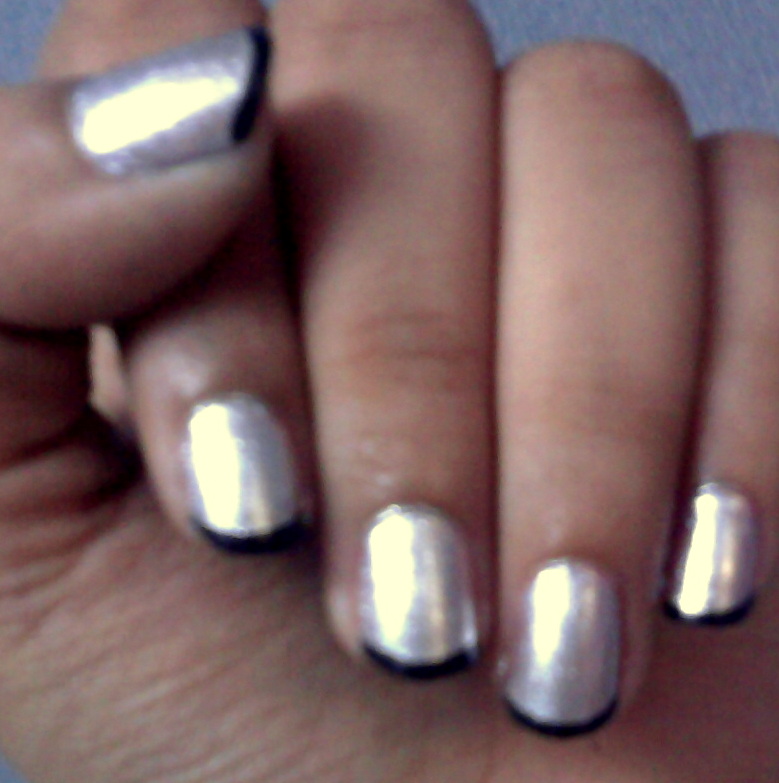
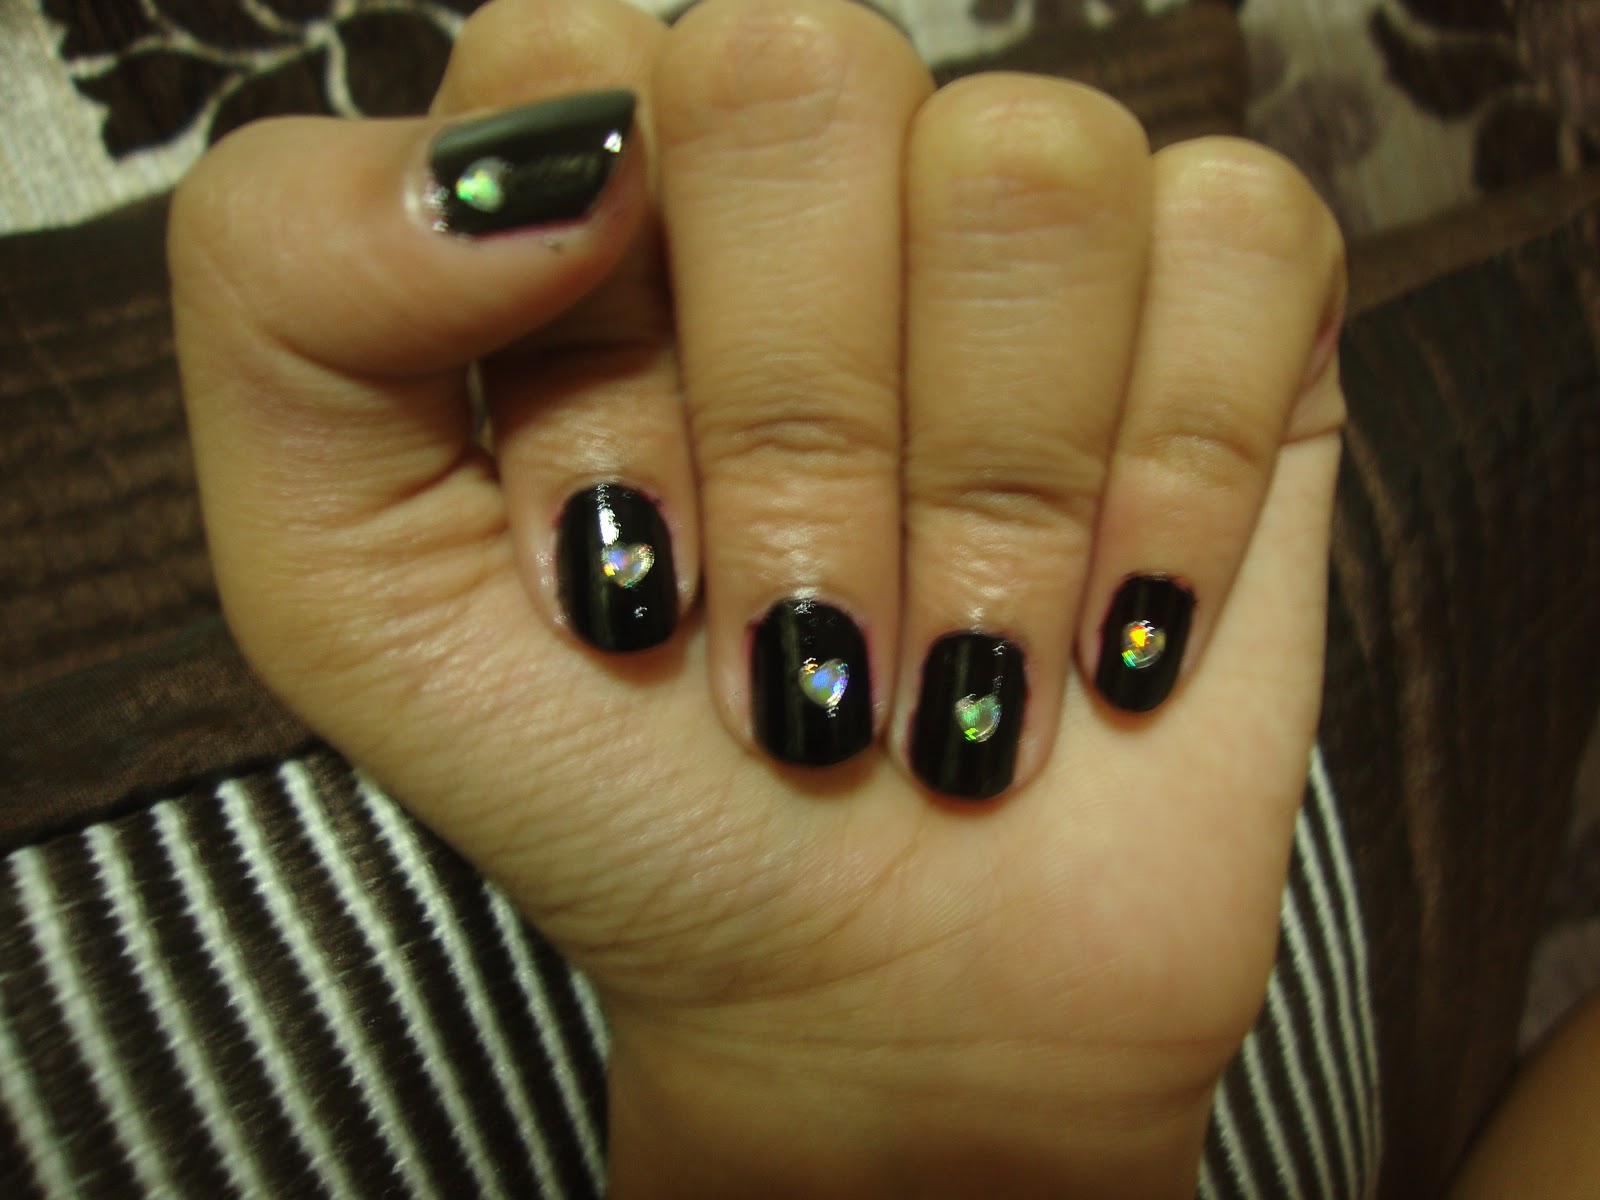
Metallic colors are all the rave this A/W, so i did a little metallic look inspired myself.
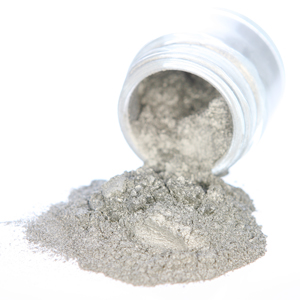
You just need,  a bold nailcolor like blue,red,pink etc. I used black; cotton balls and metallic  colour powder , as far as i know its available in 3 colors- silver,golden and copper. I have all three of them, but i am biased towards silver, so i used it.
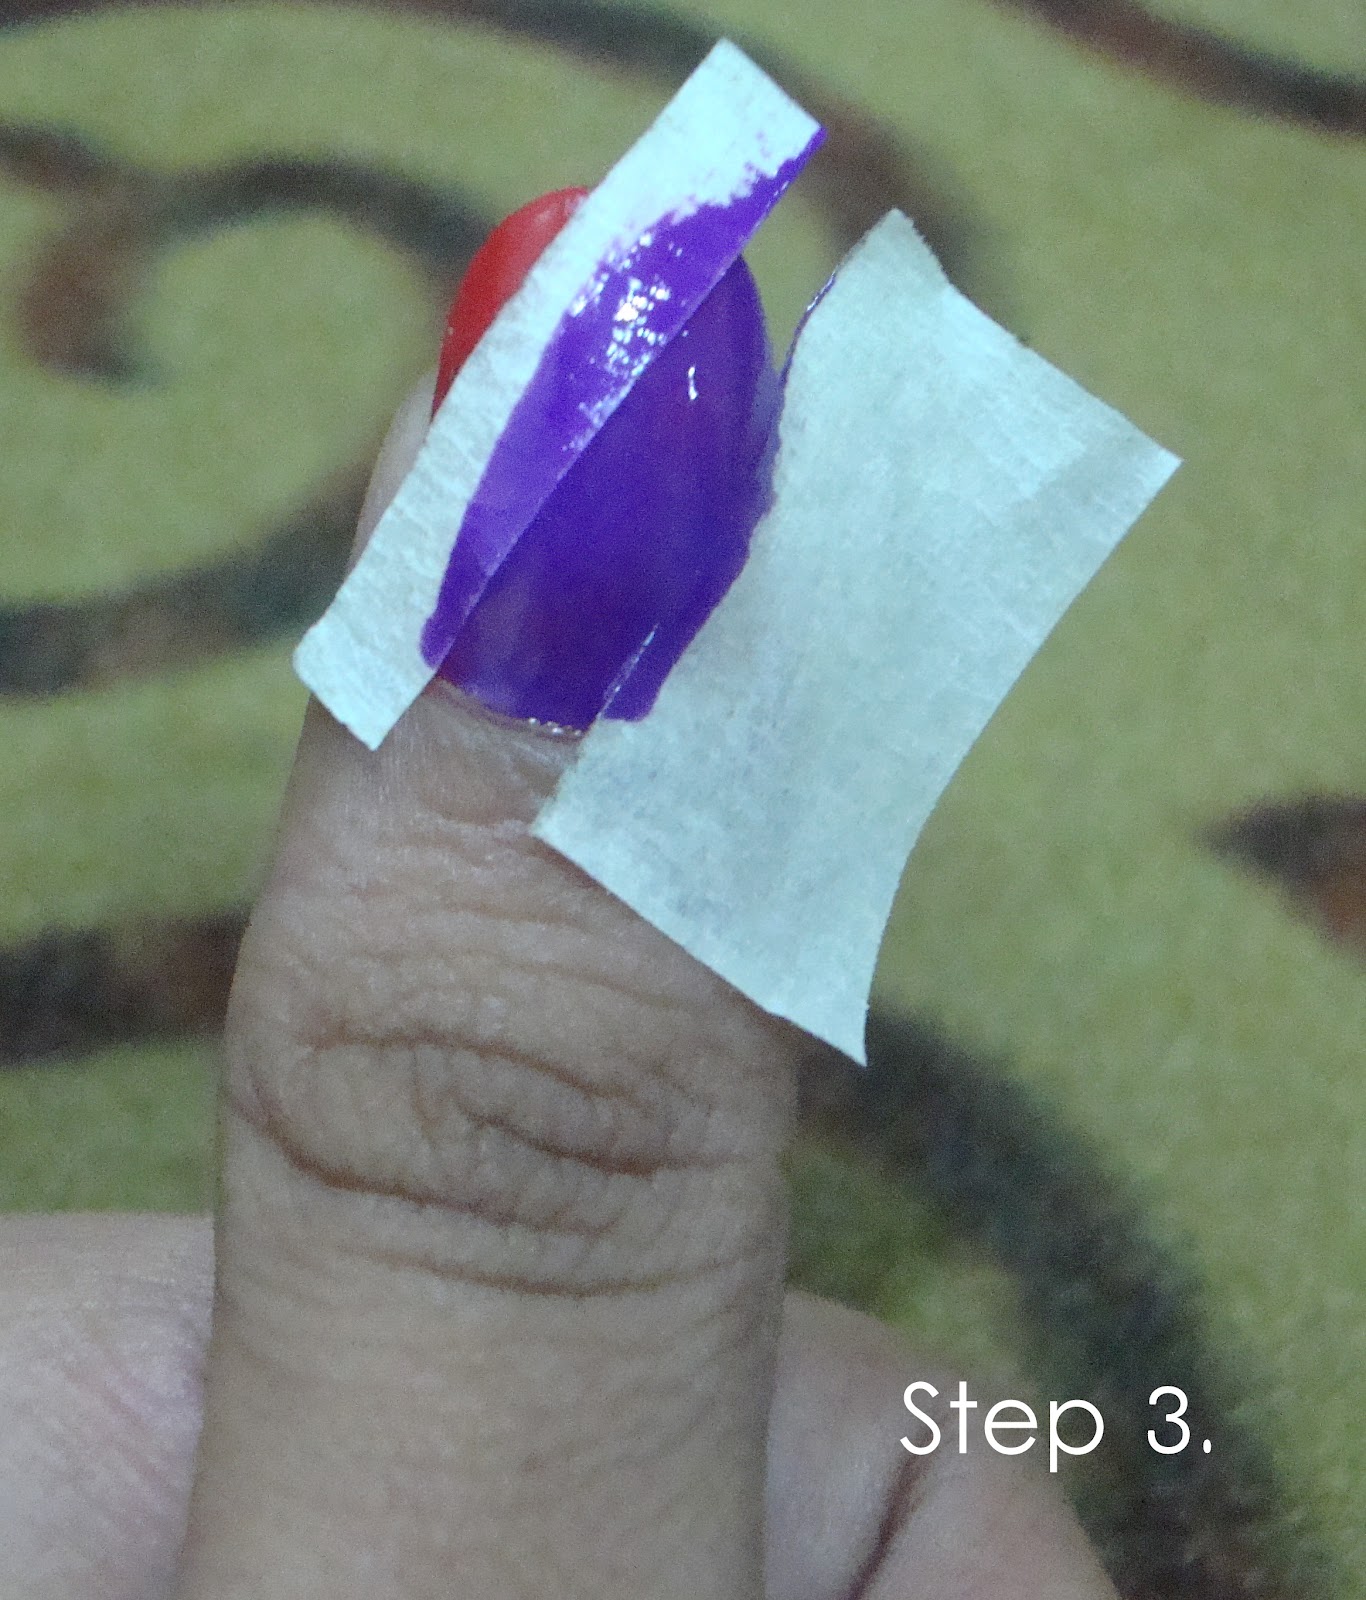
All you need to do is apply a coat of the nail polish and load your cotton ball with the desired powder and dab it on the nail in your own fashion, Its super easy and looks really glamorous. Plus, you can make any color combinations and the possibilities are endless! :D


Tuesday, October 16, 2012

cupcake nails

I used neon pink nail polish to show as the cupcake holder, and white colour for the cream on the cake and simply dotted the design with purple and pink dots and after a layer of glittery varnish, i dotted the apex of the nail with a cherry red colour.
You can further detail the design by drawing vertical stripes onto the pink base.

B&W ombre

A quickie I did right after my exams got over . =)
I used black and white nail paint and merged them, remember, use heaps of color, being stingy won't help here. 


Wednesday, October 10, 2012

B&W grunge

Hi guys! 
sorry for not posting anything for a long time, i've been too busy with my studies, high school isn't exactly great, is it? anyways, here is a quick design i did sometime ago because i was too bored and tired of studying. it's quite easy, i used a dry paintbrush and dipped it in the nail polish and just sort of hazily dabbed it around, the trick of this design is to get the right amount of nail polish on the brush- not too much, just a little bit and remember, you can't go wrong with this design, after all it's abstract! =)


PS. that's one of my fave books i used as the background, "Where rainbows end" by Cecelia Ahern.


Tuesday, September 18, 2012

Polka dot nails

Hey guys! Today i polka dot nails for myself! i was sorta skeptical about them in the first place but they turned out fine. I made a dotting tool myself and i'll show you how- it's quite simple, you'll need a pencil with an eraser at the back and an alpine pin.And, the resultant work is this! --

the dotting tool looks like this--


Sunday, September 16, 2012

Duo tone nails

whaddup guys? It's been a long week for me but nevertheless, my camera is BACK! now i'll be able to upload decent pics =)

This tutorial is real easy and you'll just need two contrast shades of nailpaint and some not-very-sticky duct tape!

So here we go:


Friday, September 7, 2012

glitter ombre

hey there! I was checking out Pinterest for some ideas and I noticed that the ombre design was quite a rave. And it took me quite some time to figure it out.. As you see, the turquoise one was my first attempt and it turned out fine except that it chipped off the very next day. So, i tried once more and did it with blue glitter polish and it turned out well =) and to top it all, it has been 2 weeks and it is still in good condition without any chips.

Saturday, August 18, 2012

Simple Pink


This is one color i actually like a lot! I got it from forever 21 and the color name is : pink. Its look so pretty once you put it on, that i didn't feel like doing any sort of design on it.


Friday, August 17, 2012

French Mani with a twist

This is a very simple nail design, i applied a single base coat followed by two coats of silver metallic nail polish. Make sure you apply the next coat, once the former coat has dried completely.  After i completed the metallic nail polish, i dabbed some black acrylic paint on the tips. And, viola! you're done! :)
Don't forget to add a top coat so that your polish lasts longer!

please comment and tell me how did your nails turn out! 

the picture quality is not that great. boo-hoo :(